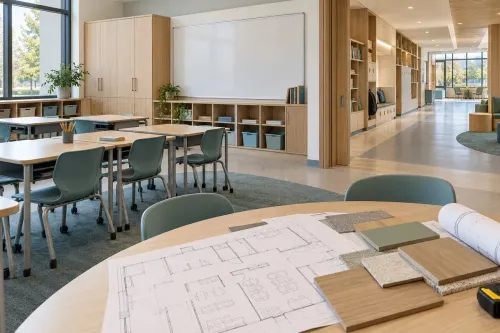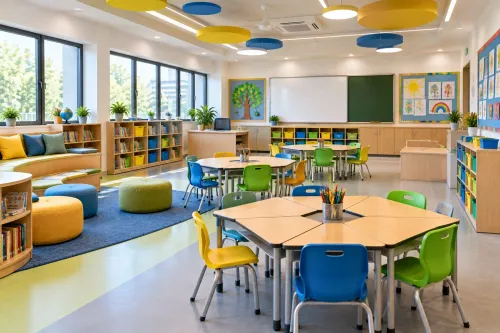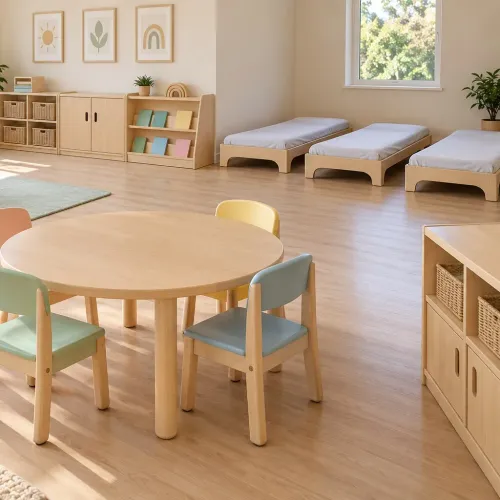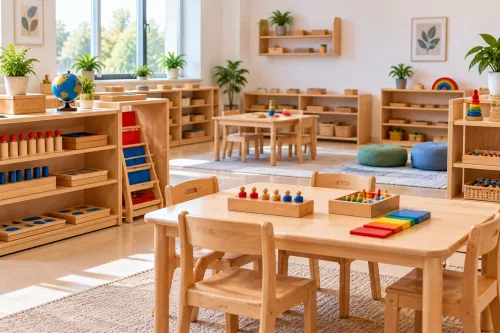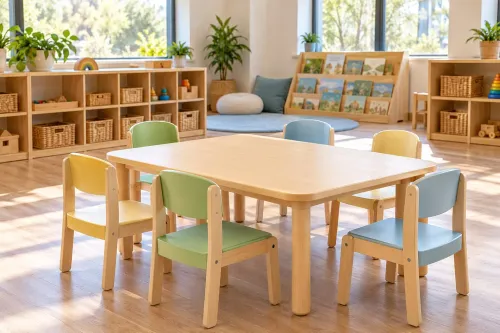
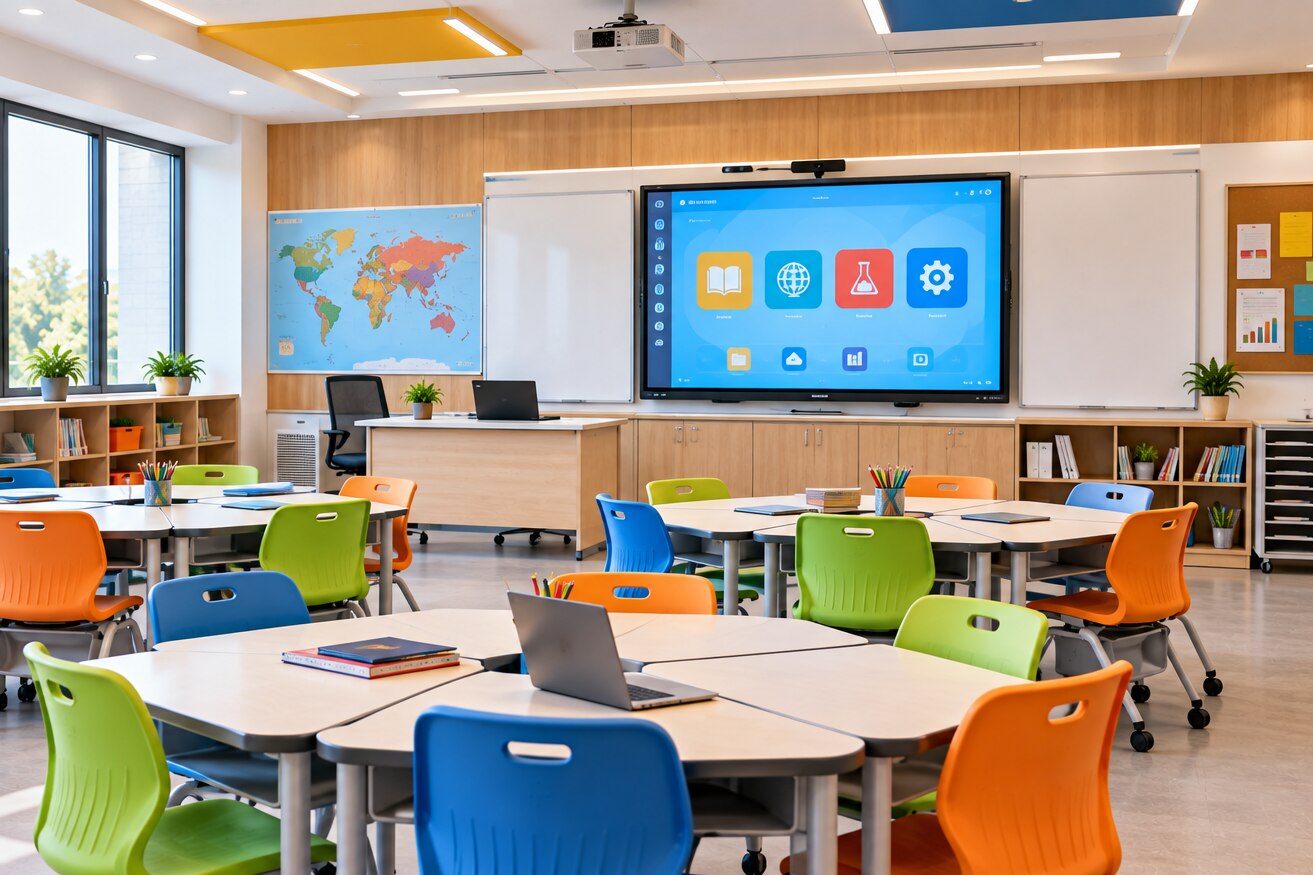
A classroom can fit every desk, screen, and storage unit on paper yet fail when children cannot hear the teacher, reach the controls, move safely, or work without glare and distractions. By the end, you will have a practical method for turning teaching activities into zones, testing furniture dimensions, selecting layouts, and coordinating technology before installation.
Key takeaways
- Define learning zones from teaching activities before selecting furniture.
- Measure clearances, circulation routes, sightlines, and accessibility requirements.
- Match layouts to teaching methods instead of using one fixed arrangement.
- Specify technology access, power, storage, and maintenance before ordering furniture.
How do you turn teaching activities into classroom zones?
Start with a room brief, not a furniture catalogue. Record who uses the room, what they do, and what the building permits before choosing tables or screens.
- Class size, pupil age, and stature range
- Teaching activities and number of adults
- Storage needs and supervision requirements
- Available daylight and ventilation points
- Power outlets and network access
- Technology used during a typical day
Then turn the brief into classroom zoning. Each zone needs a defined purpose, a suitable surface, and a clear route to the next activity.
| Zone | Purpose and suitable surface |
|---|---|
| Whole-group instruction | Shared explanation on an open floor or writable surface |
| Collaborative learning | Group work at shared tables with room to regroup |
| Quiet reading area | Reading or regulation on soft, low-stimulation furnishings |
| Independent work | Focused tasks at individual desks or defined worktops |
| Making | Construction and art on durable, cleanable surfaces |
| Teacher-led support | Small-group teaching at an accessible table |
Keep the quiet reading area away from construction and dramatic-play noise, but use a low boundary so the teacher retains visibility. Reserve one device-free area for tactile, spoken, and movement-based learning. Apply Universal Design for Learning by pairing visual explanations with spoken instruction, manipulatives, writable surfaces, and multiple ways to participate.
Show queue points, bag storage, material collection, and the reset route on the plan so transitions do not become collisions or lost learning time.
What measurements make a furniture plan safe and usable?
Draw the room to scale before selecting products. Classroom measurements reveal whether student clearance, teacher circulation, door swings, emergency-exit routes, wheelchair access, and turning areas work in daily use.
1. Mark a 30-by-48-inch clear floor space for each wheelchair position and a 60-inch-diameter turning space where a full turn is provided. Keep table clusters, charging carts, and storage units outside these areas during normal use. Test the route with doors open, not only with furniture pushed against walls.
2. Specify tables and chairs by pupil stature, not grade label. EN 1729 furniture sizing uses stature bands, preventing a tall kindergarten child and a small classmate from being forced into one preschool size. Check student-to-student clearance, teacher circulation, and whether a seated child can reach writing tools and shared materials.
3. Separate display height from control height. Unobstructed operable parts, switches, connection ports, and user-operated accessories should sit between 15 and 48 inches above the floor under ADA reach guidance. Check screen sightlines from every seat, window and lighting glare, air-supply grilles, and visibility of every exit.
4. Keep low storage accessible to children, but anchor adult-only cabinets for chemicals, tools, confidential records, and small parts. Secure televisions, shelving, dressers, display units, and tall storage against tip-over. Full-height units that block the teacher’s view create a supervision hazard even when circulation appears adequate.
Walk the finished plan from a standing teacher position, a seated wheelchair position, and a young child’s eye level. Remove anything that obstructs a route, hides an exit, or leaves a control outside its user’s reach.
Which furniture arrangement fits each teaching method?
Choose the arrangement by activity, not by flexibility alone. Fixed rows support individual written work, direct instruction, and forward-facing sightlines, but they slow peer discussion and regrouping.
| Option | Best fit | Trade-off to plan for |
|---|---|---|
| Fixed rows | Written work and direct instruction | Restrict discussion and rapid regrouping |
| Table clusters | Collaboration and shared materials | Increase noise and block supervision when tables are too large |
| Semicircle seating | Discussion, storytelling, and demonstrations | Give up more perimeter space |
| Mobile tables | Group instruction, making, and project work | Define storage positions, maximum group size, and the reconfiguration path |
| Flexible seating | Choice between supported working positions | Add choice only when every option supports posture, focus, and safe movement |
A mixed layout often works best: keep a clear whole-group area, two or three collaborative tables, a quiet setting, and open floor space for making or movement. Preserve a 30-by-48-inch clear wheelchair position and a 60-inch turning diameter where a full turn is needed; do not fill them with clusters, charging carts, or storage.
Coordinate furniture finishes with acoustic treatment. ANSI/ASA S12.60 targets maximum unoccupied background noise of 35 dBA and reverberation time of 0.6 seconds in classrooms up to 10,000 cubic feet, rising to 0.7 seconds in larger rooms.
Hard laminate tops, exposed floors, mobile tables, and uninterrupted walls can reflect speech despite acoustic panels, while novelty, bright finishes, and movable furniture alone do not improve learning.
How should technology fit the room without consuming it?
Build the technology plan on the electrical and furniture drawings before selecting tables, shelving, or cabinets. A late technology decision forces outlets into corners, leaves charging leads across walkways, and makes maintenance unnecessarily disruptive.
1. Select the display wall after checking viewing angles, window glare, speaker coverage, teacher position, camera coverage, and the distance to the furthest pupil. A wall-mounted display preserves floor space, but it fails when sightlines are poor, glare is excessive, or controls are inaccessible.
2. Mark power outlets, network access points, charging storage, device cabinets, cable routes, and maintenance access before fixing furniture. Route cables through walls, ceiling systems, floor boxes, or protected perimeter channels; never run loose leads across movement paths or daisy-chain power strips.
3. Match the equipment to the activity. An interactive display supports annotation and shared demonstrations, but it cannot replace writable, tactile, and low-tech resources; place controls and connection ports between 15 and 48 inches where seated users and children can reach them.
A projector suits a large image in a darkened room, not bright rooms, frequent movement, or equipment requiring maintenance above young children.
4. Specify shared tablets for short, teacher-directed activities only. Reject them when charging, cleaning, account management, or screen time overwhelms the lesson. Laptops require secure storage, robust power capacity, and suitable tables.
5. Keep device-free zones for construction, conversation, sensory regulation, and hands-on work. Technology should support these activities, not consume their floor area.
How do you turn the plan into a workable furniture specification?
A classroom furniture specification turns the approved concept into an install-and-inspect schedule, not a catalogue. Record each zone’s capacity, furniture dimensions, clear floor area, storage location, technology connection, lighting condition, acoustic treatment, supervision requirement, mobility status, anchor point, and parking position.
| Zone | Record in the schedule |
|---|---|
| Whole-group instruction | Pupil capacity, sightlines, display connection, lighting and teacher position |
| Collaborative work | Group size, table dimensions, chair clearance, shared power and supervision |
| Quiet reading or regulation | Seating dimensions, low-noise location, storage, visibility and acoustic treatment |
| Independent work | Individual clearances, writing surface, lighting, device access and cable route |
| Making | Worktop size, washable finish, material storage, floor protection and reset path |
| Teacher-led support | Adult and pupil positions, wheelchair access, task lighting and resource storage |
Specify acoustic coordination with the building team. Ceiling absorption, wall treatment, room volume, HVAC selection, floor finish, table surfaces and chair movement affect speech clarity; target 35 dBA background noise and 0.6 seconds’ reverberation in rooms up to 10,000 cubic feet.
Use CO2 monitoring to diagnose occupancy and outdoor-air performance, then check particulate matter, temperature, humidity, filtration and ventilation delivery. Keep charging leads out of walking surfaces under OSHA’s walking-working-surface principle. Before approval, inspect from child eye level, seated wheelchair position and teacher standing height.
Arko Global can translate this tested brief into sizes, mobile units, storage and layouts for a technology-ready classroom.
Related product
 | SHAPES / LAYOUTS Arko Global is one of the leading manufacturers of kindergarten shapes and layouts in Bangalore, specializing in creative, safe, and child-friendly... View product → |
Frequently asked questions
How do you turn teaching activities into classroom zones?
List the activities, users, movement patterns, noise levels, and equipment each lesson requires, then assign zones for instruction, collaboration, independent work, making, storage, and transition.
What measurements make a furniture plan safe and usable?
Measure room dimensions, door swings, window and outlet locations, circulation routes, furniture footprints, seating clearances, teacher sightlines, and accessible turning space before finalising the plan.
Which furniture arrangement fits each teaching method?
Use rows for direct instruction, clusters for collaboration, a U-shape for discussion and demonstrations, and movable pieces when lessons alternate between formats.
How should technology fit the room without consuming it?
Place screens where every learner can see them, route power safely, protect cables, preserve circulation, and provide charging, storage, and maintenance access without taking core learning space.